I keep seeing these roses around but I always figured that it was way too advanced for me. I don't really have any artistic talent ... never have. So believe me when I say that if I can do this, so can you. All you need is one of those dotting tools. Don't have one? You can you the head of a pin if you have one of those lying around (not the tip, it's too small, but the round head part). And you need a few colours of polish. Here's what I used
Base -OPI Black Onyx
For the flowers - Sally Hansen Insta-Dry in Lively Lilac and OPI Alpine Snow
Leaves - China Glaze Tree Hugger
Accent Finger - Hard Candy Pixie Pink
If you live in Canada, Hard Candy is now selling a HUGE line of sparkle polishes. They're awesome, and about $4 a pop at Walmart. I bought a bunch of them and I still want more ... clearly I have a problem :-)


Here's what I used .. my polishes, my dotting tool and a piece of paper.
Step 1: Apply two dots of one of your flower polishes (okay, I guess this is step 2, the first step is really to put on about 2 coats of the colour you want as your background and make sure it's really dry before you put on the roses)

Step 2: Apply two dots of your other flower polish in between those two dots

Step 3: Use your dotting tool to swirl the colours around in a circle motion (only swirl in one direction) - sorry I had to switch nails for the picture, that insta-dry really does dry fast, it was almost dry in the time it took me to take a picture of it!!)

Step 4: Use the dotting tool and your green nail polish to swipe on little leaves

Step 5: Wait for them to dry and then apply your favourite top coat (I used Seche Vite)

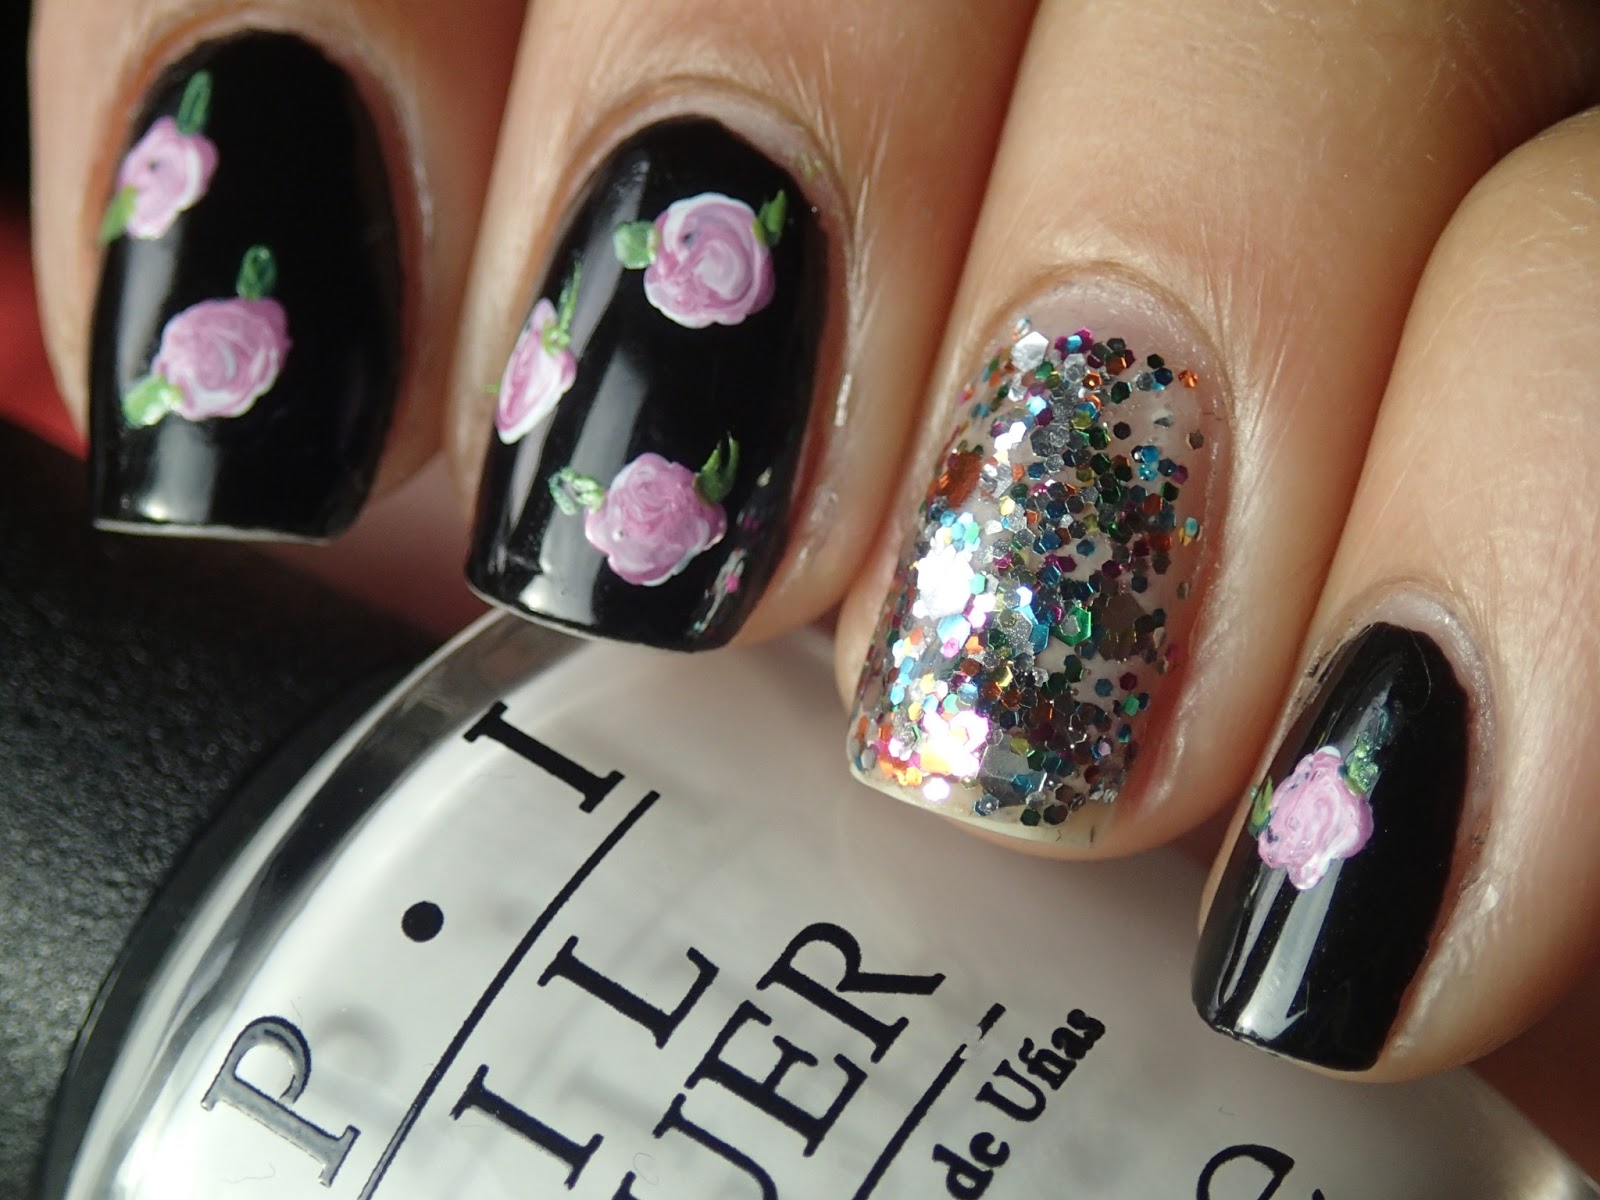 |
| You can glam it up even more with super sparkles like OPI's Rainbow Connection |
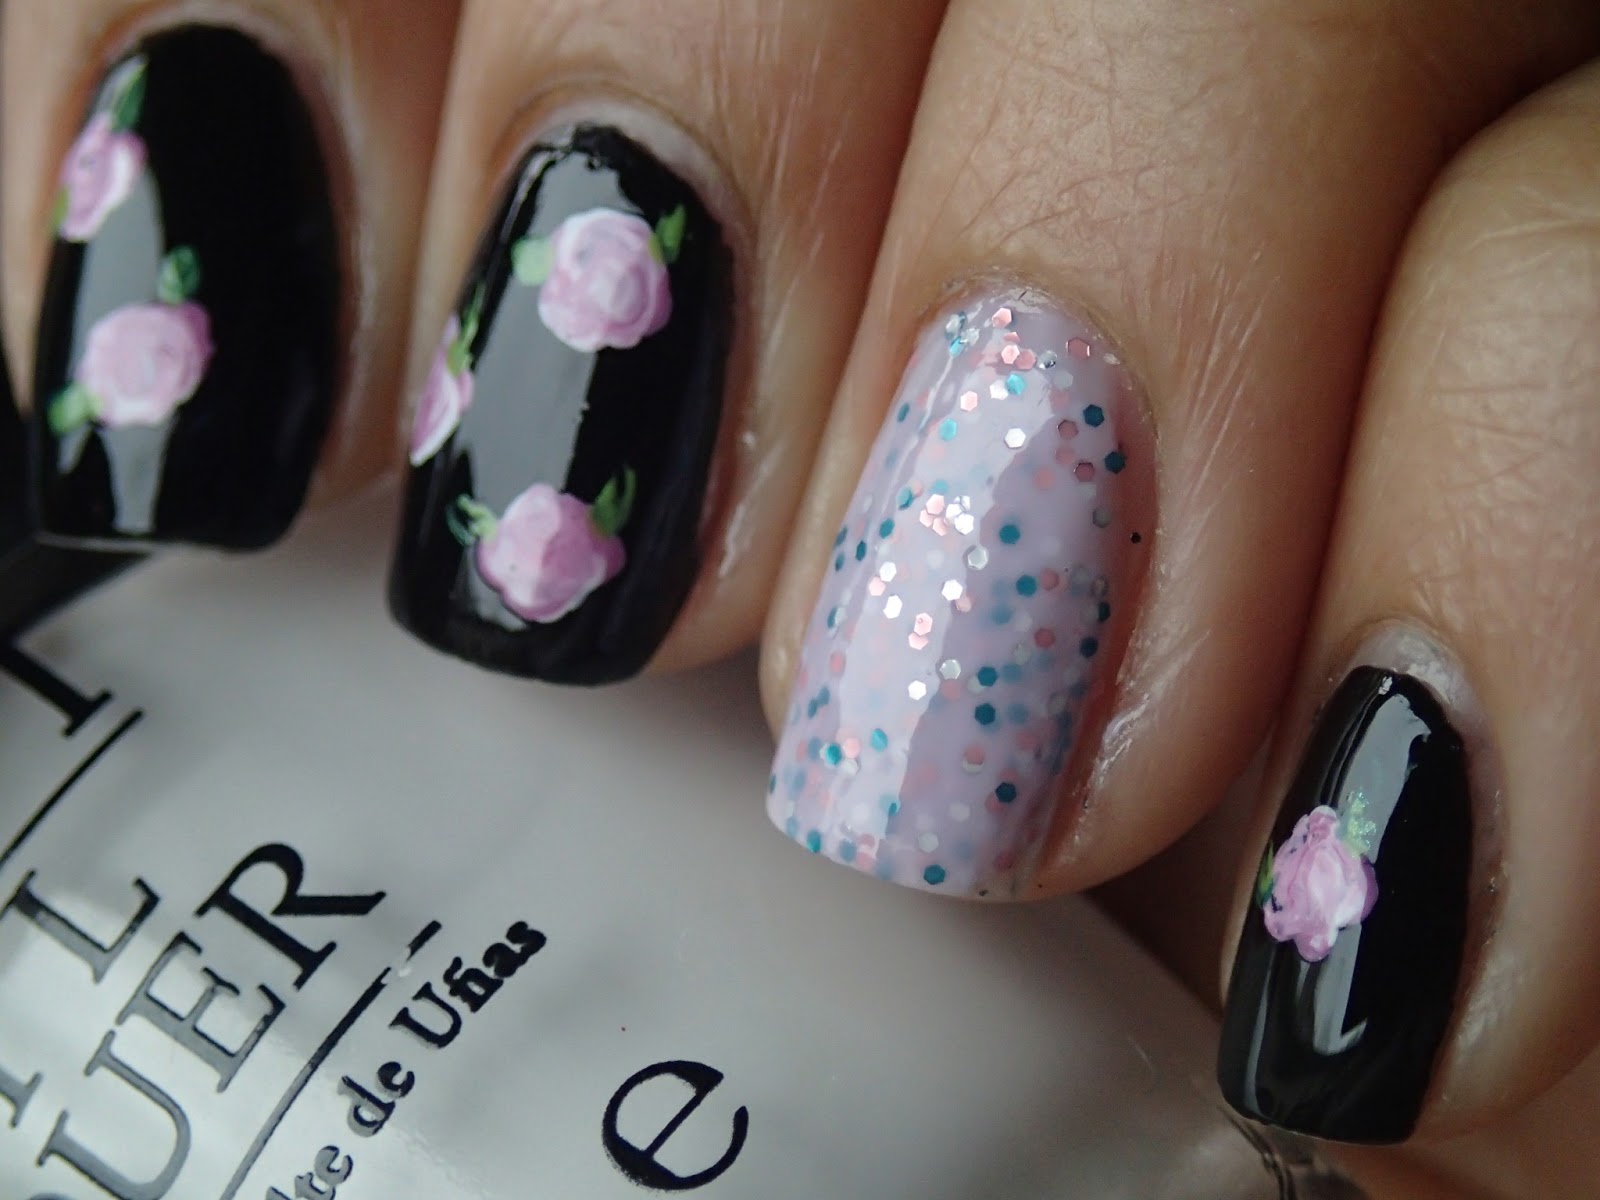
 |
| Or you can make it light and pretty by putting it over a jelly colour like OPI's You Callin' me a Lyre |

Enjoy! And Happy Polishing!


No comments:
Post a Comment